You can download Kolibri Detail and Summary logs usage data and export in the CSV format from the Data tab in your Facility dashboard.
Note
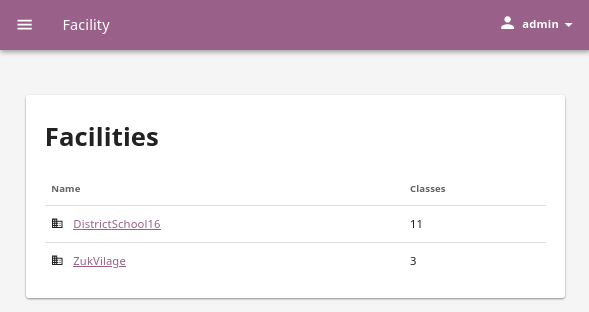
If you have more than one facility on the device, you must first select a facility. Click on the name of the facility from the list to access its data.
Importing from CSV will make many changes to your users and classes, and these changes cannot be easily reverted. Read carefully the requirements below, and make sure to verify that the data in your CSV file is accurate and adheres to the format reference.
For the import to be successful, you must have a CSV file with properly formatted data with some required values. We recommend the following procedure:
Click the Generate user CSV file link.
Wait for the file to be ready and click the DOWNLOAD button to save the CSV file which contains all users and classes you already have in the facility.
Open the CSV file with an external spreadsheet program and make the required changes.
Export the edited records as a new CSV file from the spreadsheet program.
Click the IMPORT button and select that CSV file exported from the spreadsheet to import and update users and classes.
Tip
You can also use this CSVfiletemplate to get familiar with the required format.
The first row must be a header row, and contain the columns:
Database ID (UUID) - Optional
An ID used by Kolibri to uniquely identify a user. Leave it blank to create a new user.
Username (USERNAME) - Required
Maximum 125 characters. Can contain letters, numbers and underscores.
Password (PASSWORD) - Required
Maximum 125 characters. To leave unchanged, use an asterisk *.
Full name (FULL_NAME) - Required
Maximum 125 characters.
User type (USER_TYPE) - Required
Use one of theses values:
ADMIN
FACILITY_COACH
CLASS_COACH
LEARNER
Identifier (IDENTIFIER) - Optional
Any identifying string, such as a student ID or email address. Maximum 64 characters.
Birth year (BIRTH_YEAR) - Optional
A four-digit year, greater than 1900
Gender (GENDER) - Optional
Use one of theses values:
MALE
FEMALE
NOT_SPECIFIED
Learner enrollment (ENROLLED_IN) - Optional
List of classes to enroll the user in as a learner.
Any type of user can be enrolled as a learner in a class.
Write the class names separated by commas.
If the class name in the field does not match exactly with any of the existing classes in the facility, the command will create a new class with that name.
Coach assignment (ASSIGNED_TO) - Optional
List of classes to which the user will be assigned as a coach.
Do not use for learner users.
Write the class names separated by commas.
If the class name in the field does not match exactly with any of the existing classes in the facility, the command will create a new class with that name.
You can use the facility sync feature for multiple purposes.
If your implementation is in a completely offline setting, you can bring another device like a laptop, import the facility of the offline device on it, and periodically perform the sync for backup purposes or further learning progress monitoring that needs to be performed in a different location with online access.
If your Kolibri facility is part of a larger organization that tracks data on the Kolibri Data Portal (KDP), you may have received the project token to sync the facility data with the organization in the cloud.
Follow these steps to register your facility on KDP and perform the sync.
Open the options menu and select Register.
Enter the project token and click the CONTINUE button.
Click the SYNC button to synchronize the data from your facility with the project on Kolibri Data Portal.
Be sure to follow the guidance of your Kolibri Data Portal project administrator on the frequency of sync-ups that you need to perform.
To set up a regular syncing schedule, follow these steps.
Open the options menu and select Manage sync schedule.
Choose to sync with KDP or another device in the local network.
Set the preferred frequency and time to perform the sync.
Click the SAVE button to confirm.
You can configure your device to sync regularly with more than one device. To add a scheduled sync with another device, click the ADD DEVICE button and repeat the above steps.
If you need to edit the frequency or the time of previously configured sync, click the EDIT button and adjust the values.